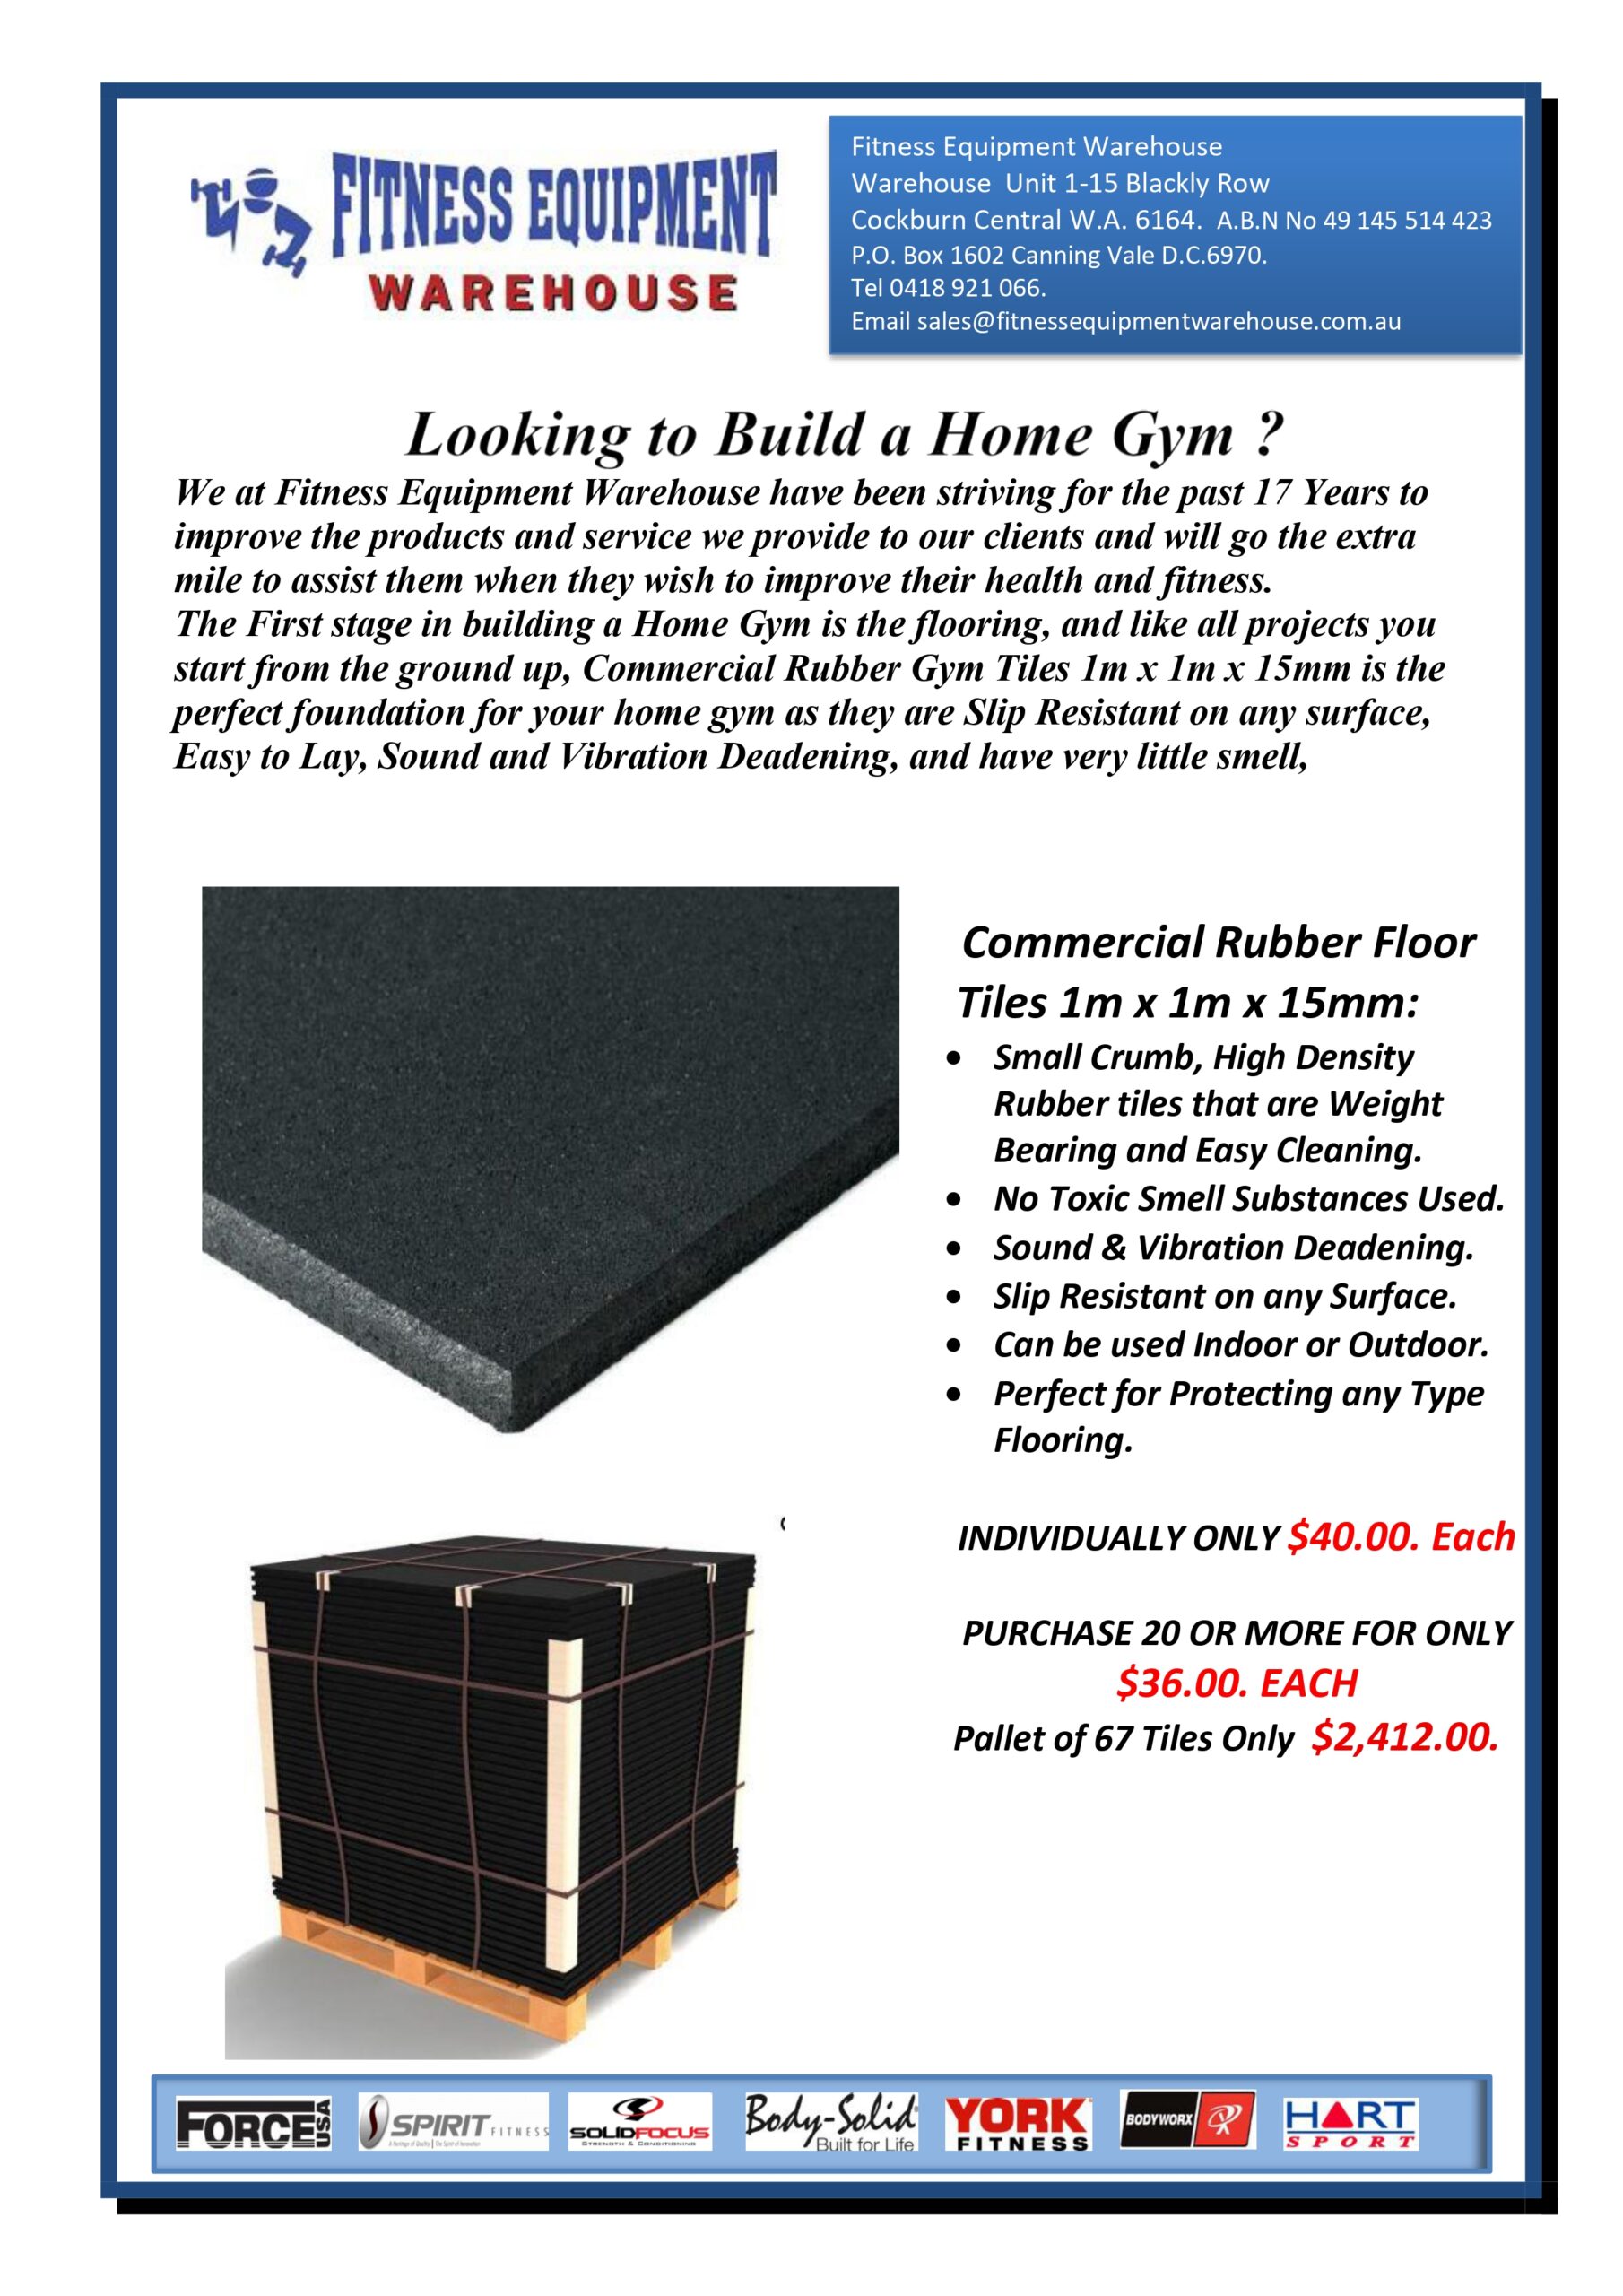
Description
1M x 1M x 15MM Thick
Commercial Quality
Laser cut
No Toxic Substances
Highly durable rubber with the lowest possible abrasion properties
Permanently elastic for maximum comfort
Sound & vibration deadening
Anti-static and slip-resistant
Usable indoor & out door
Helpful Hints
We are Technicians not salespeople and are aware of all the problems that come with the creation of a home or commercial gym.
if due to Budget restraints you may be Laying the gym Rubber floor tiles yourself, we would like to provide you with brief indication of how to lay the Gym tiles and get a professional looking job for
your home or facility.
The Tiles we provide are full commercial grade and are what we call small crumb high compaction type and weight of about 14kg each and have very little smell from the tiles, as some of the cheaper tiles have a strong toxic smell due to the chemical binders used in the manufacture and will release pathogens into the atmosphere.
So we have enclosed these helpful hints for you to consider:
1) Make sure you measure the room so you are aware of the runout as very few areas are square and check the doors to see if they open inward as they might need the bottoms cutting.
2) Make sure you clean the room of dust so the tiles can grip the bare concrete or timber andminimize the footprints on the newly laid tiles.
3) Lay the tiles out at random so they can retract as when they are stacked on a pallet they can weigh over a ton and it will compress the tiles on the pallet and they need to retract as they are rubber, this will ensure you get no gaps later on, so at least 24hours is needed even with these quality compacted tiles.
4) Make sure you lay the tiles in a stretcher pattern, this will ensure that the tiles will look professionally laid and will compensate for the runout there might be in the room without it been noticed, if you lay them in a block pattern your eye will pick out any runout in the pattern.
5) You will have to decide whether you want a full room, wall to wall with the tiles! or to make an Island of the tiles, if so you will need to retain the edge with an aluminum tapered strip so its not a trip hazard.
6) Make sure you use a new Stanley knife to cut the tiles and use a steel rule as a guide to prevent any runout, it will also help to use a cardboard template for awkward shapes. Good Luck with your project …